Part one of many.
I was recently on a group Zoom call with some people from the United States. Even with my usually decent home wifi connection, I had a horrible experience with frequent disconnects, audio packet loss and choppy video streaming. It got me thinking about how Zoom and similar services are architected. I figured there’s no better way to learn than to just jump right down the rabbit hole and build my own video chat app.
After some research on the topic, I found https://webrtc.org/ . WebRTC is marketed as “An open framework for the web that enables Real-Time Communications (RTC) capabilities in the browser”. The project is open-source and supported by Apple, Google, Microsoft and Mozilla, amongst others. Sounded right up my alley. So I ran through the official getting started guide and samples and was hooked instantly.
I’m almost certain Zoom, Hangouts, Skype and others have their own proprietary implementations and services that may or may not be built on WebRTC but my goal here is to learn more about real time media communications and WebRTC seemed like a great place to start.
Of course, WebRTC is not the only technology to build a video chat app on but it has the following going for it:
- Open source
- Runs in the browser
- Vibrant community
- Enables peer to peer media communications
Signaling
I learnt that although WebRTC enables peer to peer communication, WebRTC in the real world still needs servers for peers to both discover each other and also to cope with NATs and firewalls.
So what is signaling? Signaling provides means for clients to set up their session and exchange required network data in order to facilitate the real time communication between peers.
WebRTC itself provides no implementation / API for this and it must be implemented at an application level. This gives developers the freedom to write their own signalling implementation on whichever stack / protocol they decide is best for their application.
Some implementations include the use of long polling techniques and web sockets. I decided use SocketIO in this example because I have some past experience implementing SocketIO servers.
Where does Svelte fit into this?
I figured a video conferencing client would require a fair amount of Javascript to wire up the UI and managing state in a multi party video call could become tricky in vanilla JS. So I starting thinking about Javascript frameworks.
Svelte is a framework I’ve been meaning to try and a web based video chat client felt like the perfect use case. So I decided to give it a go. Svelte introduces a new way of thinking about Javascript frameworks. Instead of shipping a (relatively) heavy runtime dependency to the browser (React, Angular, Vue) Svelte introduced a compile step, that packages only the parts of the framework required by the application at runtime. Meaning, significantly smaller bundle sizes while still providing a great developer experience.
Anyway, enough background. Here’s some of the steps I took and some important code snippets from v1 of the video chat app:
First step was to setup a basic server to serve my Svelte webclient, landing page and SocketIO signalling implementation. I’m a long time NodeJS user, so quickly spun up a basic Koa server.
I forked the popular https://github.com/sveltejs/template and mounted the Svelte client app using koa-mount. This meant I was now serving the compiled svelte application from my Koa server:
const Koa = require('koa');
const staticKoa = new Koa();
const serve = require('koa-static');
const path = require('path');

staticKoa.use(serve(path.join(__dirname, "./client/public/"), {}));

module.exports = staticKoa;
Mounted it to the /call route:
const callApp = require('./static');

app.use(mount('/call', callApp));
With a basic Svelte application and backend server in place. It was time to get cracking on the WebRTC implementation.
First, I needed to ask permission to use the user’s video and audio devices. Both of which are then made available as media streams and can be associated with a video element:
  navigator.mediaDevices.getUserMedia({
    audio: true,
    video: true,
  }).then(stream => {
    localStream = stream;
    // Display local video stream in #localVideo element
    const localVideo = document.getElementById('localVideo')
    localVideo.srcObject = stream;
    localVideo.muted = true;
    // Add your stream to the peer connection
    stream.getTracks().forEach(track => peerConnection.addTrack(track, stream));
  }, onError);
RTCPeerConnection
To create a connection between peers, WebRTC exposes an RTCPeerConnection API. This API is used to gather information on local media and network availability. Once RTCPeerConnection has what it needs, it is passed on to the peer (other client) through the signaling server.
Setting up a call requires three steps:
- Create an RTCPeerConnection on each side of the call
- Gather ICE candidate information. This represents potential connection addresses and network details
- Get and share local / remote descriptions in SDP format.
I created the peer connection objects and attach state change listeners like so:
//configuration object is used to implement STUN/TURN server logic which I'll only get into in future posts
peerConnection = new RTCPeerConnection(configuration);
  // 'onicecandidate' is called when an ICE agent needs to deliver a
  // message to the other peer through the signaling server
  peerConnection.onicecandidate = event => {
    if (event.candidate) {
      //send message to the other peer via the signaling server
      sendMessage({'candidate': event.candidate});
    }
  };

  if (isOfferer) {
    peerConnection.onnegotiationneeded = () => {
      peerConnection.createOffer().then(localDescCreated).catch(onError);
    }
  }

  // When a remote stream arrives display it in the #remoteVideo element
  peerConnection.ontrack = event => {
    const stream = event.streams[0];
    if (!remoteVideo.srcObject || remoteVideo.srcObject.id !== stream.id) {
      const remoteVideo = document.getElementById('remoteVideo');
      remoteVideo.srcObject = stream;
    }
  };

  function localDescCreated(desc) {
    peerConnection.setLocalDescription(
      desc,
      () => sendMessage({'sdp': peerConnection.localDescription}),
      onError
    );
  }
Here’s the code to send messages to the other peer via the signaling server:
export function sendMessage(message) {
  message.room = room;
  socket.emit(
    socketActions.message,
    message,
  );
}
Bind to new messages from the signaling server:
socket.on('message', (message, client) => {
    if (message.sdp) {
      // This is called after receiving an offer or answer from another peer
      peerConnection.setRemoteDescription(new RTCSessionDescription(message.sdp), () => {
        // When receiving an offer, we need to answer and create a local description
        if (peerConnection.remoteDescription.type === 'offer') {
          peerConnection.createAnswer().then(localDescCreated).catch(onError);
        }
      }, onError);
    } else if (message.candidate) {
      // If the message contains a new ICE candidate. Add the new ICE candidate to our connections remote description.
      peerConnection.addIceCandidate(
        new RTCIceCandidate(message.candidate), onSuccess, onError
      );
    }
  });
Here’s the main Svelte component that implements the above and provides a basic UI:
<script>
  import { onMount } from 'svelte';
  import "../assets/main.scss";
  import getMedia from './util/getMedia';
  import adapter from 'webrtc-adapter';
  import { newCallController } from './util/newCallController';
  import callerState from './store/callerState';

  import Controls from './components/controls/Controls.svelte'
  import { fetchTurnServerConfig } from './util/apiClient';

  onMount(async ()=>{
    if (!location.hash) {
      location.hash = Math.floor(Math.random() * 0xFFFFFF).toString(16);
    }

    const roomHash = location.hash.substring(1);

    //utility function to track whether or not video / audio is muted and set to a global state helper
    callerState.setAudio(true);
    callerState.setVideo(true);

    //will explain this in future posts
    const turnServerConfig = await fetchTurnServerConfig();
    newCallController(roomHash, { turnServerConfig });
  });
</script>

<main id="video-container">
  <video class="full-screen-video" id="localVideo" autoplay playsinline></video>
  <video class="secondary-video" id="remoteVideo" autoplay playsinline></video>
  <Controls />
</main>

<style>
  main {
    max-width: 240px;
  }

  h1 {
    color: #ff3e00;
    text-transform: uppercase;
    font-size: 4em;
    font-weight: 100;
  }

  .full-screen-video {
    position: fixed;
    top: 0;
    right: 0;
    left: 0;
    bottom: 0;
    height: 100%;
    width: 100%;
    z-index: 1;
  }

  .secondary-video {
    position: fixed;
    top: 40px;
    right: 40px;
    width: 15%;
    height: 15%;
    z-index: 10;
  }

  @media (min-width: 640px) {
    main {
      max-width: none;
    }
  }
</style>
Here’s the global caller state helper I mentioned:
import { writable } from 'svelte/store';

export let audio = writable(true);
export let video = writable(true);

export const setAudio = (audioStreamable) => audio.set(audioStreamable);

export const setVideo = (videoStreamable) => video.set(videoStreamable);

export default {
  audio,
  video,
  setAudio,
  setVideo
};
And a Controls component to handle the muting of video / audio and binding the value to global state:
<script>
  import ActionButton from "./ActionButton.svelte";
  import callerState from "../../store/callerState";

  let audio = true;
  let video = true;

  callerState.audio.subscribe(value => audio = value);
  callerState.video.subscribe(value => video = value);
</script>

<main>
  <div class="controls">
    <ActionButton
      onClick={()=>callerState.setAudio(!audio)}
      onState={audio}
      onIcon="mic.svg"
      offIcon="mic-off.svg" />
    <ActionButton
      onIcon="phone.svg" />
    <ActionButton
      onClick={()=>callerState.setVideo(!video)}
      onState={video}
      onIcon="video.svg"
      offIcon="video-off.svg" />
  </div>
</main>

<style lang="scss">
  .controls {
    position: fixed;
    bottom: 5%;
    left: 0;
    right: 0;
    display: flex;
    justify-content: center;
    z-index: 101;
  }
</style>
Signaling server implementation
On the server side, I needed to listen for inbound connections and pass messages between peers. Here is the server side SocketIO implementation:
const socketActions = {
  connection: 'connection',
  disconnect: 'disconnect',
  createOrJoin: "create or join",
  created: "created",
  join: "join",
  joined: "joined",
  message: "message",
  data: "data",
};

const mountSocketIo = (ioInstance) => {
  ioInstance.on(socketActions.connection, function(socket) {
    // When receiving a message from one peer, emit to the other peer on the same call
    socket.on(socketActions.message, (details) => {
      socket.broadcast.to(details.room).emit(socketActions.message, details);
    });

    socket.on(socketActions.createOrJoin, (room) => {
      const clientsInRoom = ioInstance.sockets.adapter.rooms[room];
      const numClients = clientsInRoom ? Object.keys(clientsInRoom.sockets).length : 0;

      //Currently only supporting one to one calls
      if(numClients === 0) {
        socket.join(room);
        socket.emit(socketActions.created, room, socket.id);
      } else if(numClients === 1) {
        ioInstance.sockets.in(room).emit(socketActions.join, room);
        socket.join(room);
        socket.emit(socketActions.joined, room, socket.id);
      } else {
        console.log("Room full");
      }
    });

    socket.on(socketActions.disconnect, function(){
      console.log('user disconnected');
    });

  });
}

module.exports = mountSocketIo;
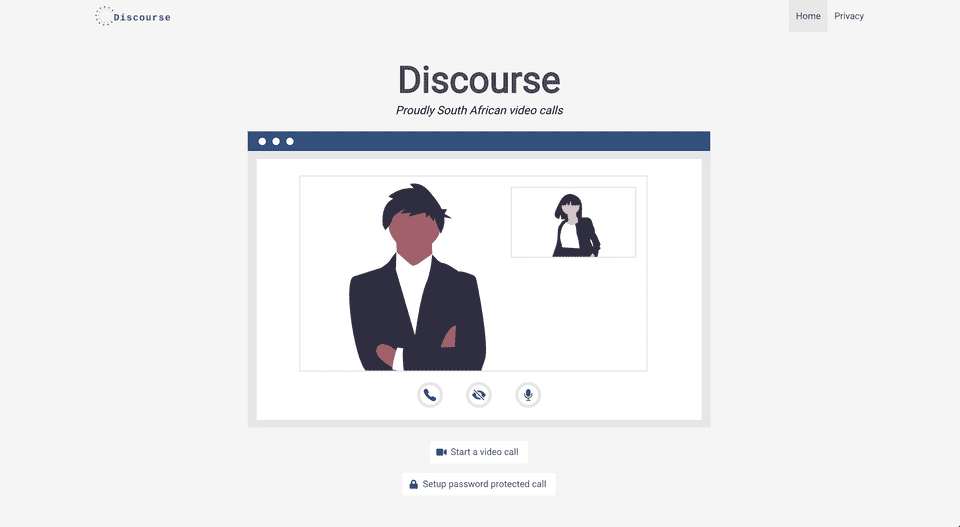
I put a basic landing page together, rendered on the server using pug js templates and the bulma.io css framework:
Voila! A working (super basic) video chat application in the browser!

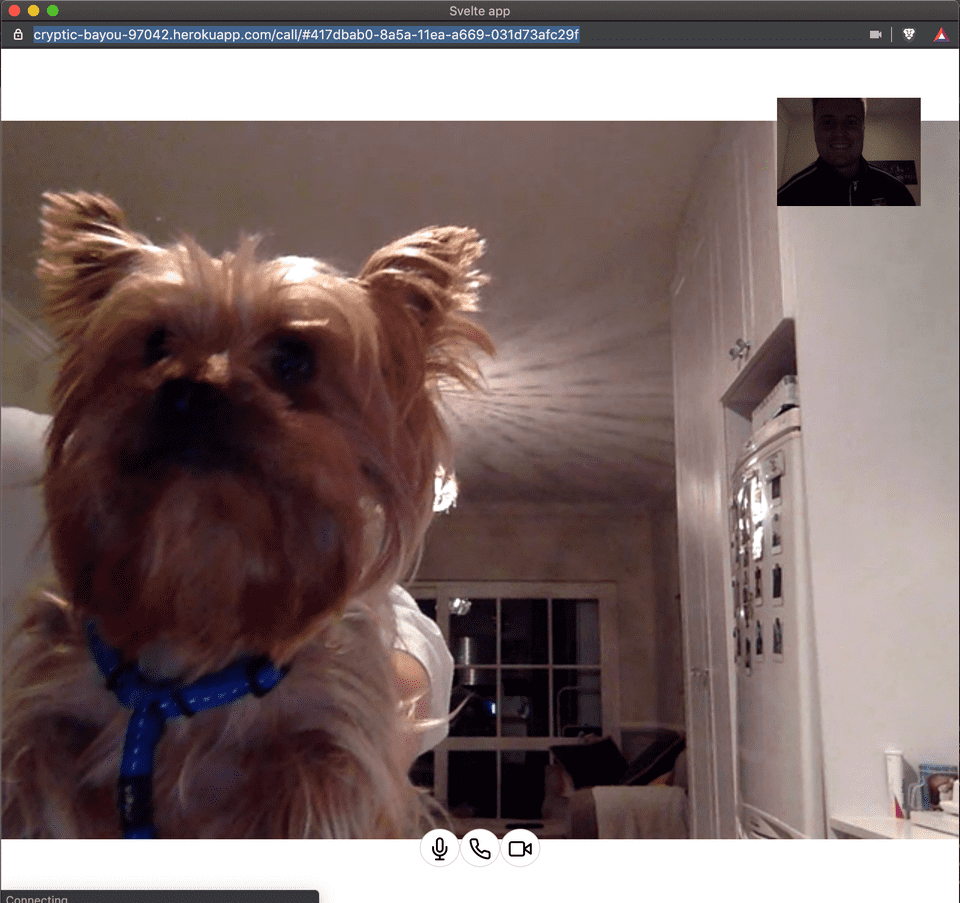
I’ve deployed this version to Heroku, so click here to give it a try! Just open the call url on another device or copy and paste into another tab to try it out!
I find peer to peer communications especially fascinating after this dive into WebRTC and will no doubt be continuing my journey down the rabbit hole!
All of the code is available here: https://github.com/MatthewMarkgraaff/vidchat Bear in mind, the code is still a bit of a mess (the entire svelte build has even been deployed to the repo) as I’m still in the tinkering phase of the project.
I’m looking forward to adding a STUN/TURN server implementation and possibly implementing multi caller capability. I’ll document my progress and add links to future posts here.
If you’d like to tinker on this with me, reach out and let’s code together!
